
My continuity video
1. WHO DID YOU WORK WITH AND HOW DID YOU MANAGE THE TASK BETWEEN YOU?
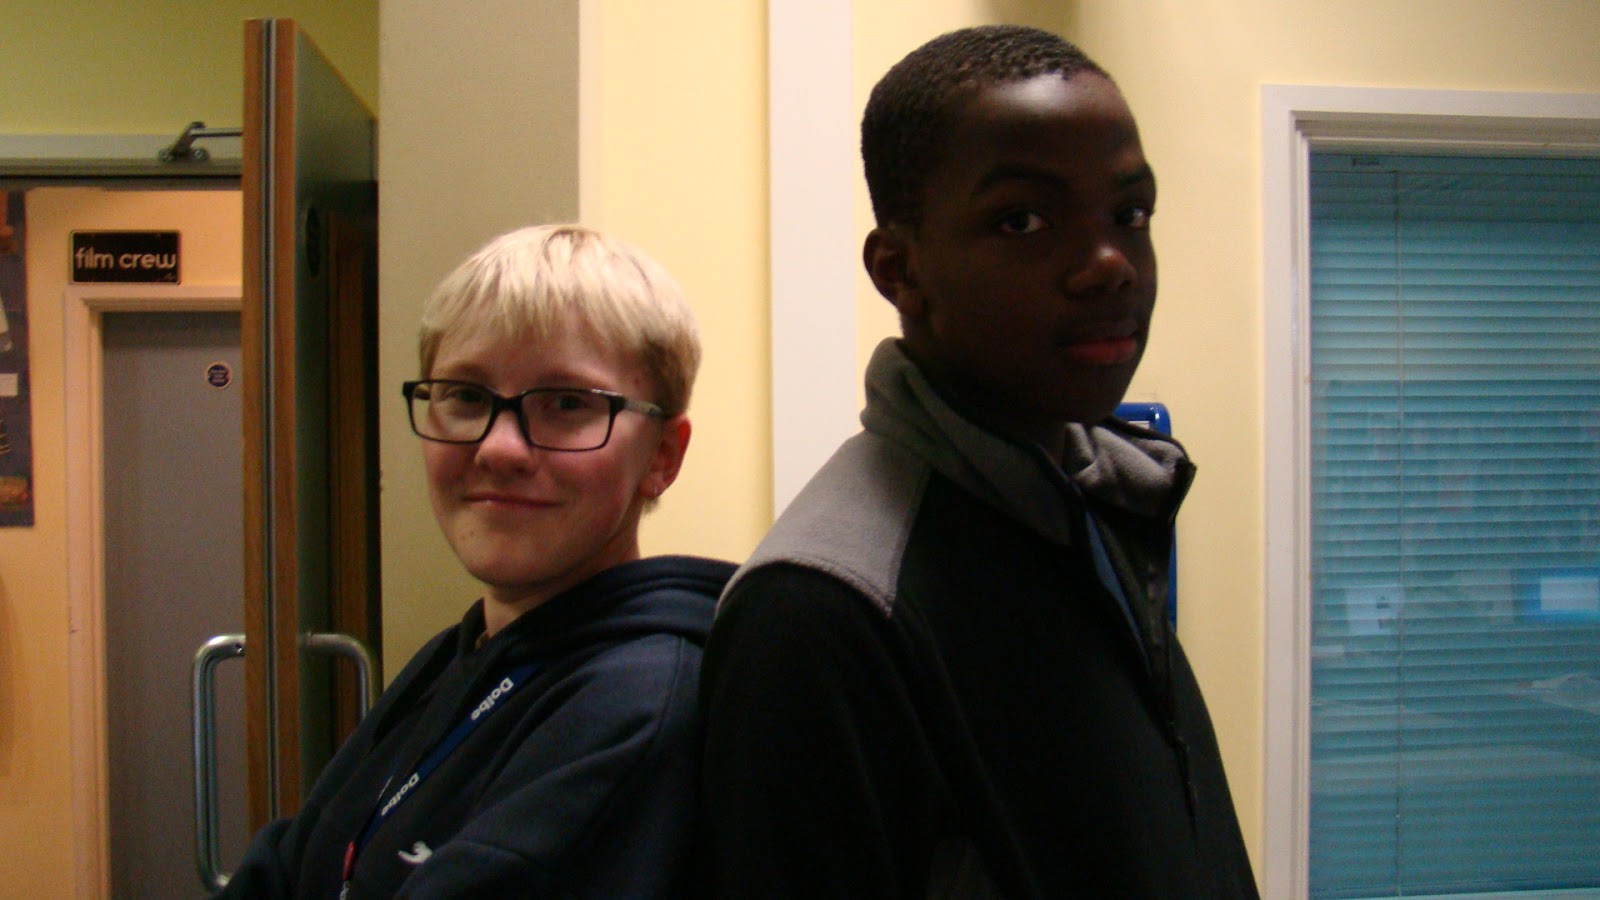 |
| Me and Sayo |
 |
| Me editing |
 |
| Me filming |
This
task really helped me learn how to effectively work in a group, which I
think will be very useful in the upcoming coursework project. Firstly, we all put in ideas together democratically, and we made sure that everyone's ideas were given a chance. I also feel
like Kristina and I worked well editing together, as we took turns
editing and both contributed to the style of editing, and the chosen
shots.
I think our approach to the project was good, as we all had our ideas heard and everyone played a big part in the project.
2. HOW DID YOU PLAN YOUR SEQUENCE? WHAT PROCESSES DID YOU USE? WHAT THEORIES DID YOU TRY TO TAKE INTO ACCOUNT?
After a group discussion, we made a story board displaying all the shots in order. Additionally, we made a shot list for the filming and a script for the actors.The process order was:
- Discussion - we had a democratic discussion about the main theme of the video before we started story boarding, where all of our ideas were heard and included in our video. We didn't really start discussing the main story elements until we had started blocking out the shots, but I think it would have helped if had discussed the exact story with a beginning, middle, and end first.
- Story boarding and blocking out the shots - this was when our exact story came together. When drawing the shots down on the story board with each other, we blocked it out so we could convey our ideas more clearly to each other, and also to see if the shot would work. I think this really helped us, as without a story board we wouldn't know any of the shots, and without blocking it out, we wouldn't have been able to see which shots worked and which shots didn't.
- Writing the script - Sayo mostly wrote the script himself, while Kristina and I gave him ideas.
We made this so that we had something to follow when filming. It was not a definite plan, so we didn't follow it perfectly, but it helped us to remember queues and helped s to create better match-on-action. - Making the shoot list - we copied down all the shots that ere in the same location and set up, rather than in chronological order, in order to save us time when filming.
 |
| Story board |
 |
| Shoot list (left) and Script (right) |
The continuity theories we made sure to take into account when making our storyboard were:
- 180º rule - we kept to one side of the actors and did not cross the line. This helped to create a sense of direction.
- 30º rule - we did not create any jump cuts.
- Match on action - we managed to recreate the action the same for each shot and take, helped by the fact we blocked out all of the action in the video when planning.
- Shot-reverse-shot - created in a conversation.
- Classic narrative pattern (beginning, middle, and end) - created during planning and blocking out the movement.
3. WHAT TECHNOLOGY DID YOU USE TO COMPLETE THE TASK, AND HOW DID YOU USE IT?
4. WHAT FACTORS DID YOU HAVE TO TAKE INTO ACCOUNT WHEN PLANNING, SHOOTING, AND EDITING?
Sayo and I were very familiar with the equipment, as we had used it before in media GCSE. Kristina, however, was new to the equipment, so we were able to help her and show her how it was used. We all used the equipment effectively to our advantage in this video. Here is a table showing the different equipment we used, how we used it, and the advantages and disadvantages of using it.
| Technology | How we used it | Pros | Cons |
|---|---|---|---|
| Camera Canon Legria HFG30 | We used it along with the tripod to shoot our video. | High quality focus. Small, lightweight, and portable, which meant we could get it into small spaces for filming. Automatic focus, which saved us time. | The automatic camera meant we couldn't have any depth of focus for added affect. |
| Microphone & boom Canon DM-100 Directional Microphone | We attached it to the microphone slot in our camera to reduce background noises. | It reduced background noise and grainy white noise, such as the wind (however not completely, so there is still some). | We could not move the microphone independently of the camera, so the sound was from the camera's perspective, rather than focusing on the dialogue/ sounds we intended to be the focus of the shot. |
| Tripod Libec TH-650 HD Tripod | We attached the camera to keep the shots steady. We extended the legs so we could have the shot with the right framing and angle. | Kept the camera steady. Helped us get correct framing and eye-line matches with the camera. Had a spirit level to make the shot perfectly level. It also enabled us to do a pan just by rotating the pivot on the camera (shot 3). | It was quite big when all the legs were extended, so it was difficult to get into tight spaces, for example, in the shot-reverse-shot sequence. |
| Adobe Premiere Pro | We renamed all of our shots once they were in Premiere Pro, then we chose the in points and out points of all our chosen takes. | We were able to see all of our shots in chronological order on a time line, and edit them there, which I found really useful for visualising the finished video. We were also able to play it back so we knew which parts to cut (etc). |
 |
| Premiere Pro (left), tripod (centre), boom (top right), and camera (bottom left). |
I think we used the equipment to our advantage and managed to take some good shots given the limitations.
The most important factors we had to take into account were the time limits, and the location limits.
When planning, we had to finalise our ideas quickly and not over-think it, or else we would run out of time. Also, we had to plan a scenario that involved only the media department, so we couldn't branch out to other locations around the school. We also had to think of a scenario that would not look boring in the classroom, as it is a small location. For this, we made a story that matched with the location: a student tells her teacher that she has not done her homework , and suffers the consequences.
When filming, we had to do the minimum number of takes for each shot we could, and try to get it right in one take in order to speed us up and finish within the time limits. Also, we had to expand our location in any way we could. Our technique of doing this was by filming in the corridor, outside the media block, and in the classroom. Another way we could have done this was by shooting from different angles inside the room, showing various different parts of the room. I think that in some shots, we did not use the space as efficiently as we could have. For example, the shot-reverse-shot sequence was filmed from the same side of the desk as the characters, meaning it was very cramped and difficult to frame. Instead, we could have filmed it from the more open side of the table, giving us more space to get the framing right.
When editing we had to take into account the time restrictions, as trying to do anything complicated would have taken up too much time and we would not have completed the task. Additionally, we had to create a shot-reverse-shot sequence that doesn't create jump-cuts, which was difficult given the time restrictions, as it is surprisingly complicated.
To conclude, I think our group managed to work well given the restrictions we had, and we managed to create well flowing video within the time, also meeting the brief.
5. HOW SUCCESSFUL WAS YOUR SEQUENCE, PLEASE IDENTIFY WHAT WENT WELL, AND IN HINDSIGHT, WHAT WOULD YOU IMPROVE/DO DIFFERENTLY?
My group video met the brief because we created a continuity video of someone walking into a classroom, sitting down, and exchanging a few lines of dialogue with another character. I think we did this well, as our story was of a student talking to a teacher, which worked with the location, as well as creatively meeting the brief.
The three continuity principles the brief mentioned were match-on-action, shot-reverse-shot, and the 180º rule. We carried out the match-on-action mostly during filming, by repeating the action exactly the same for each shot, and making sure the set and props were back in place at the beginning of each take. Additionally, we created 'invisible editing' by cutting in and out at match points in the action, for example when Kristina opens the door, we cut the shots so the action continued.
We created the shot-reverse-shot by making a sound bridge. I think we should have taken every shot with the whole action, rather than bits of it. Not doing this made it very difficult (but possible) to avoid jump-cuts when editing the shot-reverse-shot sequence of the conversation. To eventually achieve this, we had to create a sound bridge in two places, and also edit the video differently to the story board, although this is not a major concern. Lastly, we made sure to film on one side of the characters to ensure that we were not breaking the 180º rule in order to fit with the brief. However, I do not think we used the location to our advantage her, as we filmed the conversation from the same side of the desk as the characters, making it seem cramped and strange. Instead, by filming from the other side of the desk, keeping with the 180º rule, but also giving the scene more space.
Additionally to this, I thought some of our shots were really well framed, for example, the ECU of Kristina's face in the door window. This resulted in most of our transitions being really smooth, and overall helping the video to seem less jumpy, and more aesthetically pleasing. However, some of our frames were njot very well framed during the shot-reverse-shot sequence, due to the cramped space we were filming in. For example, this LS of Kristina that cuts off the feet. To prevent this, I think we should have taken more back-up shots, and some shots with different framing as an alternative back up, as well as filming in a less cramped space.
Overall I think that we mostly achieved continuity, but we lacked essential things such as framing, and an engaging story with appropriate shots to match it.
The three continuity principles the brief mentioned were match-on-action, shot-reverse-shot, and the 180º rule. We carried out the match-on-action mostly during filming, by repeating the action exactly the same for each shot, and making sure the set and props were back in place at the beginning of each take. Additionally, we created 'invisible editing' by cutting in and out at match points in the action, for example when Kristina opens the door, we cut the shots so the action continued.
We created the shot-reverse-shot by making a sound bridge. I think we should have taken every shot with the whole action, rather than bits of it. Not doing this made it very difficult (but possible) to avoid jump-cuts when editing the shot-reverse-shot sequence of the conversation. To eventually achieve this, we had to create a sound bridge in two places, and also edit the video differently to the story board, although this is not a major concern. Lastly, we made sure to film on one side of the characters to ensure that we were not breaking the 180º rule in order to fit with the brief. However, I do not think we used the location to our advantage her, as we filmed the conversation from the same side of the desk as the characters, making it seem cramped and strange. Instead, by filming from the other side of the desk, keeping with the 180º rule, but also giving the scene more space.
Additionally to this, I thought some of our shots were really well framed, for example, the ECU of Kristina's face in the door window. This resulted in most of our transitions being really smooth, and overall helping the video to seem less jumpy, and more aesthetically pleasing. However, some of our frames were njot very well framed during the shot-reverse-shot sequence, due to the cramped space we were filming in. For example, this LS of Kristina that cuts off the feet. To prevent this, I think we should have taken more back-up shots, and some shots with different framing as an alternative back up, as well as filming in a less cramped space.
 |
| LS of Kistina |
 |
| ECU of Kristina |
Overall I think that we mostly achieved continuity, but we lacked essential things such as framing, and an engaging story with appropriate shots to match it.
6. WHAT HAVE YOU LEARNT FROM COMPLETING THIS TASK? LOOKING AHEAD, HOW WILL THIS LEARNING BE SIGNIFICANT WHEN COMPLETING THE REST OF YOUR FOUNDATION COURSEWORK, DO YOU THINK?
In this task I have learnt how to work effectively in a group, how to deal with time limits, and most of all, how to create continuity and avoid continuity errors.
I think the thing this task helped me with most, was my time management skills. I have learnt how to best use my planning, filming, and editing time wisely, and how to prioritise things, which will set me up for our longer, 2 minute fictional film opening with titles. Also, the time restrictions were very tight on this task, so it was good practice for our bigger project. As this was a video less than a minute long, and it took 3 hours to make, I think it gives me an indication of how much time I will need to spend on the bigger project, and I think without having done this task would have underestimated the amount of time it will take.
Lastly, I think that this task has really helped me to understand and carry out continuity in film. I think that had I not done this task, I would not be able to achieve continuity in our opening sequence coursework project later, as the mistakes I've made in this task are things that I will think about when making the next project.
After the experience of this task, I am ready for the opening sequence project, and excited to start it.
After the experience of this task, I am ready for the opening sequence project, and excited to start it.
No comments:
Post a Comment